

Short Answer
A vape carton dieline is the flat cut-and-score drawing that becomes the carton. A production-ready one matches measured hardware, board caliper, score geometry, glue-flap taper, and line speed.
This build-and-check SOP is for packaging designers, product leads, and procurement directors who need three production-ready file sets, not presentation mockups.
Generic templates fail on cartridge clearance, warning zones, score depth, CR lock logic, and glue-flap automation. I reviewed our factory annotations, fold tests, and gluing checks before mapping the flow below.
Start with ten measured units and settle three numbers: finished size, score residual, and lock clearance. Our custom vape packaging team runs the same workflow.
Prerequisites for Vape Carton Dieline
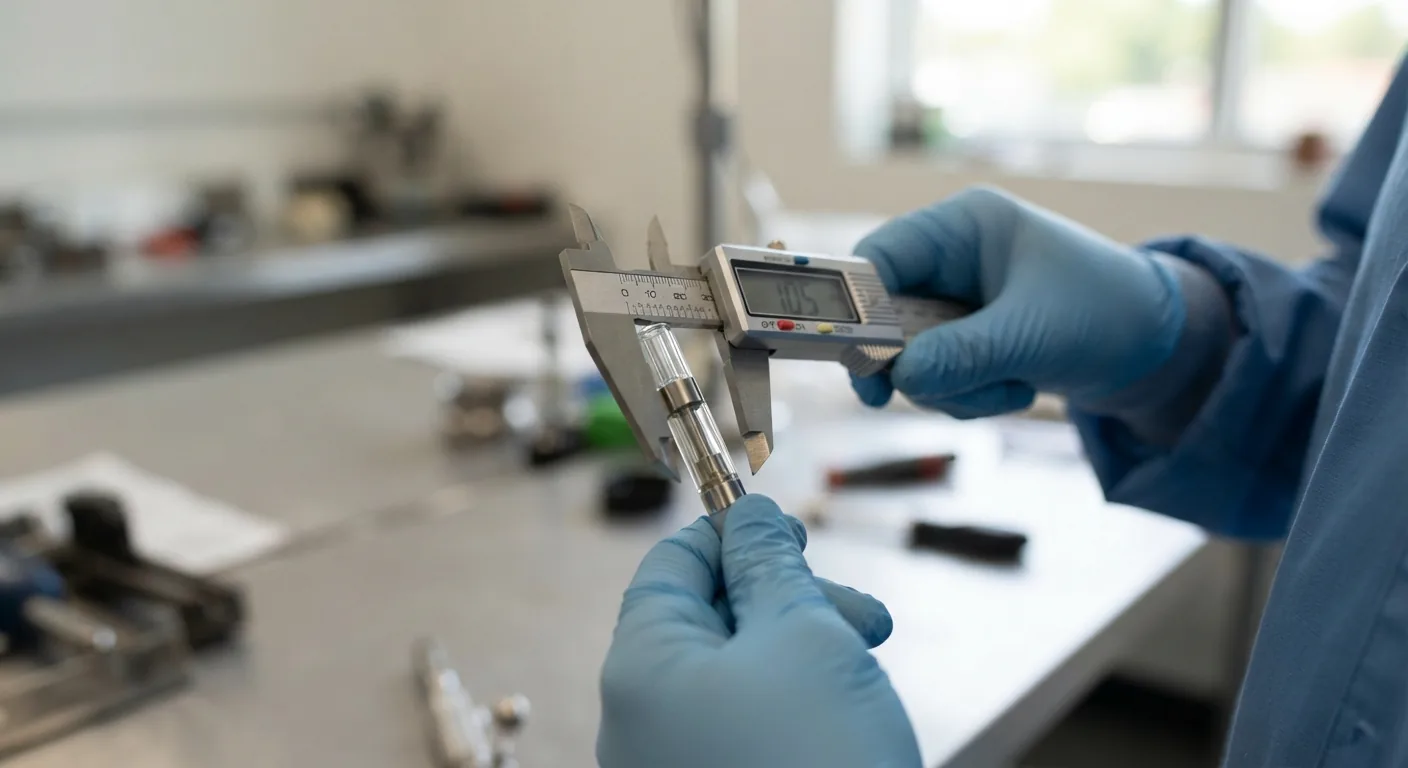
Our prepress lead and gluer operator vetted this list. Handle the parts first: real cartridge, flexible board swatch, and caliper readings you took yourself.
Required inputs
- Ten measured production units, not one hero sample.
- Format: 0.5 ml, 1.0 ml, disposable, or kit.
- Measured diameter, length, mouthpiece shape, silicone cap, and battery attachment.
- Board grade and caliper options. Confirm FSC claims early through FSC certification.
- Line method: manual, semi-auto, or high-speed auto filling, folding, and gluing.
- Regulatory copy blocks and market destination.
- Outputs: blank PDF, Adobe Illustrator file, approval PDF, and a versioned spec sheet.
Tools: digital caliper, grain-direction samples, Illustrator, a cutter or plotter proof, glue spec, fold-fatigue log, and a signoff sheet.
Method: draw in Illustrator first; go CAD-first only with a packaging engineer.
Warnings: never claim child resistance unless the pack is engineered, tested, and certified under 16 CFR 1700.20. Reserve legal panel space before art with 21 CFR 1143.3. Confirm ink and coating declarations with the REACH overview.
Accessibility: name panels and fold positions, never color.
🧠 Expert Take: Book the gluer operator for signoff. We failed a run on the caliper board.
The 5-Step Vape Carton Dieline Workflow
Use this five-step workflow to turn raw vape hardware dimensions into a press-ready carton dieline, avoiding tolerance clashes, cracked scores, and regulatory layout errors.
Step 1: Lock the Product Envelope, Clearance, and Compliance Zones

Start the factory SOP before any art. At LeelinePackage, we convert cartridge hardware into a finished carton size, then a legally usable panel layout.
- Measure at least 10 physical units.
- Record max and min diameter, total length, and cap or mouthpiece protrusions.
- Decide the pack type: standalone cartridge carton, pen carton, or cartridge-plus-battery kit.
- Reserve compliance panels before drawing flaps.
Finished box size = max product envelope + functional clearance + board behavior + insert allowance.
Clearance changes by retention type. Paperboard tabs need less side allowance; EVA, molded pulp, and blister retention need more. A snug cavity gives slight resistance; a rattle-prone cavity gives audible movement when you shake the carton.
Compact starting templates, not universal standards:
| Format | Finished carton (L × W × D) | Notes |
|---|---|---|
| 0.5 ml 510 cartridge carton | 14 × 14 × 68 mm | Confirm cap protrusion |
| 1.0 ml 510 cartridge carton | 14 × 14 × 75 mm | Add 0.5 mm side clearance |
| Cartridge + battery kit carton | 95 × 75 × 28 mm | Add insert allowance |
Reserve the nicotine warning area on the principal display panel before placing branding. Leave room for batch code, barcode, and market-specific copy blocks. Label panels as front, back, side, top, bottom, and principal display panel.
Common floor failure: a generic online template looks correct onscreen, then binds once the real mouthpiece cap and board spring-back enter the fit.
Verification Checkpoint: approve every dimension on a spec sheet before Illustrator work begins. Procurement, structural design, and compliance must confirm the same numbers.
⚠️ Experience Warning: On a 1.0 ml run, a generic template bound at the mouthpiece cap. We added 0.8 mm clearance and 0.4 mm spring-back allowance.
— Jacky Chen, Product Manager
Step 2: Download Template 1 and Build the Layer Stack
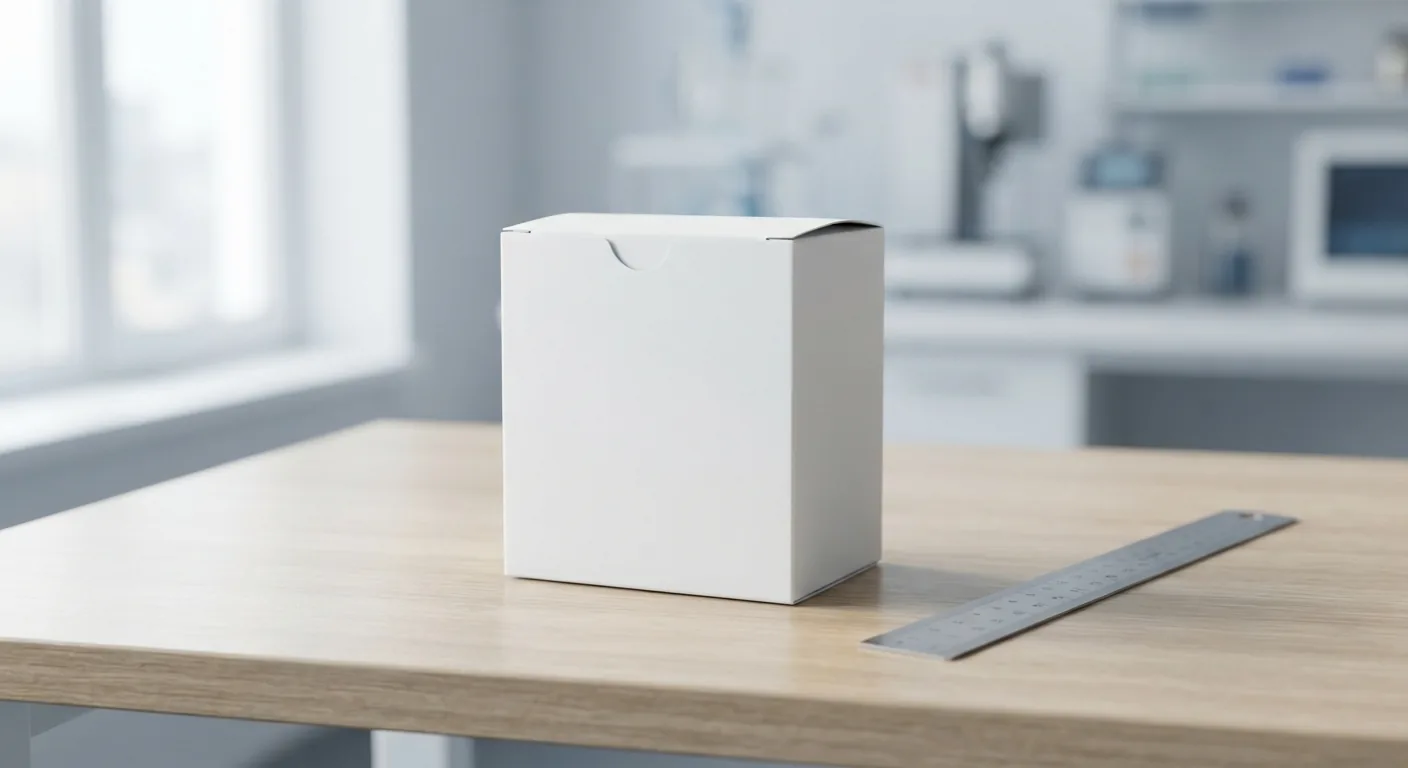
Start with our production blank. Template 1 is the file our structural team sends to clients first, and most teams clone it. Open it in Adobe Illustrator for a straight tuck or reverse tuck 510 cartridge carton.
Download Template 1
- PDF: printer-ready dieline for 510 cartridge cartons, 3 mm bleed, no artwork; download Template 1 PDF and print at 100%.
- AI: five locked layers, spot-color dielines, and a notes tab, set up in the structural engineering and design handoff.
Build Order
- Lock five layers: Artwork, Dieline-Cut, Dieline-Score, Bleed, Notes.
- Assign spot colors. Cut uses 100% magenta spot “CUT”; score uses 100% cyan spot “SCORE.”
- Keep dieline strokes vector-only. Never group them with artwork.
- Set 3 mm bleed and 3 mm safe zones before art placement.
- Taper the glue flap 3 mm at each end. Square flaps jammed our auto-gluer twice last quarter.
Prepress Conventions Generic Files Miss
- Score spot color set to overprint stroke, so it never knocks out white.
- Notes layer carries machine name, board caliper, and grain direction.
- Version naming:
SKU-STYLE-BOARD-v03. Procurement and print approval quote that string.
⚠️ Experience Warning: Generic Illustrator files merge artwork and dieline on one layer. Our prepress lead caught a merged file last month on a soft-touch lamination job. The plate correction cost $180 and two production days.
Verification Checkpoint
- The white dummy folds square after one fold cycle. It should feel balanced and not spring open.
- The tuck locks without panel drift.
- Barcode and warning block sit inside safe zones.
⚡ Speed Verification: Our build took 25 minutes. Choosing between digital vs offset print took longer.
Step 3: Adapt Template 2 for Pen or Kit Builds
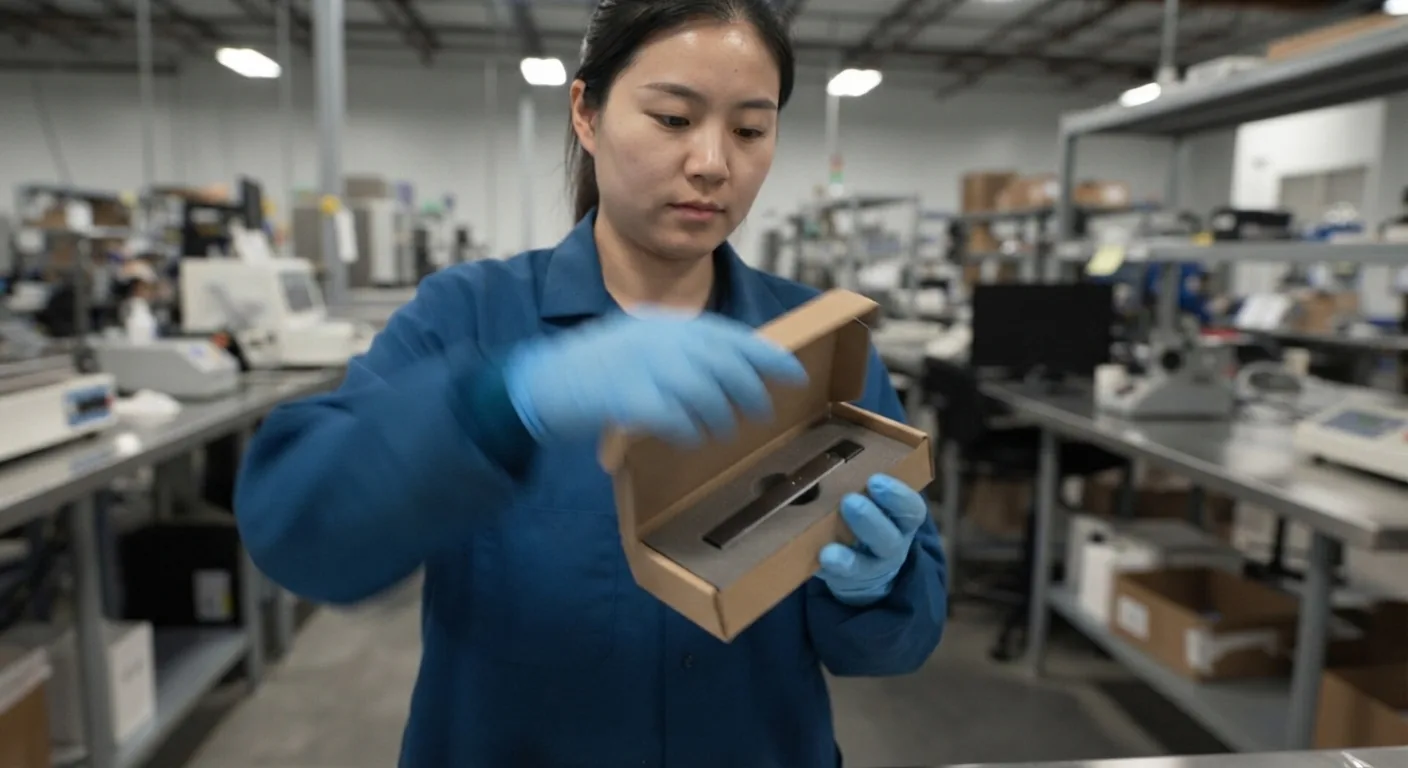
Template 2 starts from our Template 1 geometry. In our tests, teams moved from a simple cartridge carton to a pen or cartridge-plus-battery kit in one afternoon. Use it for pen-style devices or kit builds.
Adaptation Sequence
- Open Template 1 geometry. Keep the score and glue-flap logic.
- Widen or lengthen for the true product envelope. Measure the pen or kit with the battery attached.
- Choose retention: paperboard tabs, paperboard insert, EVA, or molded pulp.
- Add finger access. Leave a thumb notch or pull slot so fulfillment can remove the product.
- Recheck the folding and gluing setup. Confirm the wider blank still runs on your planned auto-gluer.
Decision Matrix
| Choose direct-fit paperboard when | Choose insert-supported when |
|---|---|
| Product is one piece and light. | Kit has loose parts or a heavy battery. |
| Drop risk is low. | You need rattle-free retention. |
| You want low MOQ and low setup. | You accept tooling for EVA or molded pulp. |
Procurement impact: inserts raise MOQ, setup cost, and sample iterations. They also add depth, which changes freight cube. Direct-fit lowers unit cost but can raise damage claims.
Download Template 2
- PDF: printer-ready dieline for pen and kit formats; download Template 2 PDF and print at 100% on A3.
- AI: layered file with cut, score, and notes, ready for the same prepress pass as Template 1.
Spec notes: common kit use cases cover 0.5 ml pen, 1.0 ml pen, and cartridge-plus-battery pack. For mixed kits that add a pouch or a coil pack, compare custom pouches before you draw the insert.
Sustainability choices belong in the same review: eco-friendly packaging materials change board behavior, so fold-test any swap on the actual blank.
Verification Checkpoint: build three repeat samples. The product should slide in with secure resistance, not force. Shake the closed carton: no rattle. Check for panel bulge. Remove and reinsert: easy access.
⚠️ Experience Warning: A kit with a floating battery rattled in our first build. The shake check catches loose inserts faster than caliper checks. We added a 1.5 mm paperboard bridge and a finger notch, which cost one sample loop.
— Ning Pan, Founder & Chief Executive Officer
Step 4: Build the Child-Resistant Carton Structure with Template 3
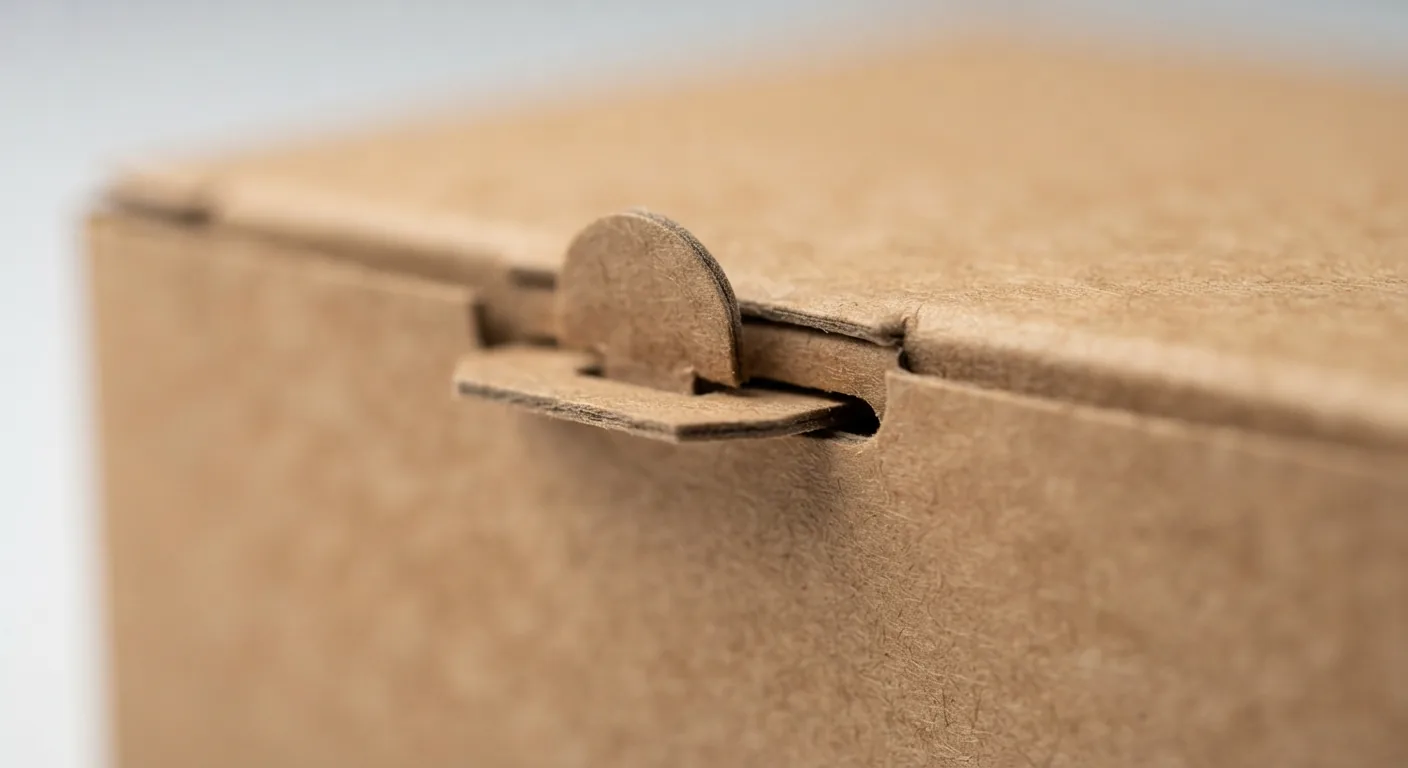
Template 3 is our child-resistant (CR) vape carton structure, shipped as an AI and PDF reference. Treat it as a structural reference only until lab-tested. I walked the full lock review with our Lead Structural Engineer, so this section uses real tolerance data.
CR Design Flow
- Choose the CR mechanism family: side-release, push-and-latch, or slide-and-lock.
- Map the tab, catch slot, and user motion path before artwork.
- Match board caliper and score behavior to the lock geometry. Spring-back drives engagement depth.
- Build and cycle-test the white dummy before printed sampling.
Q&A with Sunny She, Packaging Solutions Manager:
Q1: What locking-tab geometry most often fails CR testing?
The undercut tab with a shallow hook. On one cycle test, a 0.6 mm hook slipped out after eight cycles. We deepened it to 1.2 mm and engagement held.
Q2: What engagement depth and slot clearance ranges are most sensitive in production?
Depth under 1.0 mm is fragile, and slot clearance below 0.3 mm jams on auto-glue lines. Our sweet spot is 1.2 to 1.5 mm depth with 0.4 mm clearance.
Q3: How do you balance child resistance with adult usability?
Aim for intentional resistance, not a fight. The release must be clear, and the lock must re-engage with a distinct click after closing. Over-tight geometry frustrates adults.
Q4: What changes once the carton runs on automated filling and closing equipment?
Everything. The gluer tolerates less tab flex, and panels must self-align. We rebuild the white dummy on the exact gluer first.
— Sunny She, Packaging Solutions Manager
Download Template 3
- PDF: printer-ready CR dieline, no artwork; download Template 3 PDF and treat it as a structural reference until lab-tested.
- AI: layered file with cut, score, and lock notes, mapped in the child-resistant vape packaging guide.
⚠️ Compliance warning: never claim a pack is CR because the drawing resembles a CR box. The finished package must pass lab testing and certification under 16 CFR 1700.20; confirm the method with your test lab.
Verification Checkpoint
- The lock engages consistently across repeat cycles. Feel for a firm click each time.
- No tab tearing after 20 open-close cycles.
- No adult-use frustration from over-tight geometry. If it needs two hands and force, loosen the slot.
⚠️ Experience Warning: On a recent CR sample, a 0.3 mm slot clearance jammed our auto-gluer every 40 cartons. We widened to 0.4 mm and the jam rate dropped to zero. Test lock and gluer behavior on the same dummy.
Step 5: Convert the Three Templates into Production Files

Now turn the three approved dielines into machine-ready blanks. I ran this conversion with the prepress lead and the gluer operator. Check five structural variables before print release.
- Grain direction. Set grain parallel to the primary fold. Cross-grain folds crack and whiten.
- Score location and consistency. Measure the score line with a caliper. Our internal standard is 45–55% score-line residual thickness; too shallow resists the fold, too deep weakens the hinge.
- Glue-flap width and taper. Match the flap to the gluer spec, taper both ends, then press the cured seam. It should feel stable, not drift under thumb pressure.
- Panel sequencing. Number panels in gluer travel order on the Notes layer. A reversed panel pre-catches at speed.
- Lock and flap interference. Cycle the dummy at line speed. Tabs must clear until final close.
Run a thumbnail along the score: even whitening, light crackle, and easing hinge drag are acceptable.
Automated Folding/Gluing SOP
- Confirm blank orientation. Print side up or down per the gluer setting.
- Dry-run three build cycles. Use the exact production board.
- Check glue squeeze-out. A thin bead is correct; edge beads mean too much glue.
- Confirm tabs do not pre-catch before final close. Adjust taper or slot clearance if they do.
Treat all three files as production-tested references; our in-house structural checks cleared them. We also log ECT and BCT daily for stock selection, which is how we choose between corrugated vs cardboard for shipper parts.
Pen and kit programs that ship with an outer case can pair the carton with custom corrugated boxes.
Fiber source decides how kraft board folds, so fold-test any kraft paper swap before you commit. Where a recycled sheet is required, prove recycled corrugated packaging on press first.
Verification Checkpoint: fold fatigue stays acceptable after repeated cycling. Seams stay square, and cartons do not jam in the intended closing sequence.
⚡ Speed Verification: Our first conversion pass took 40 minutes per template. Our gluer operator stopped the dry run when a rear lock tab pre-caught; a 0.3 mm taper correction cleared it.
Troubleshooting Vape Carton Dielines

We ran these four failures on our prototyping line. Each leaves a tell you can see, feel, or hear.
1. The Box Fits the Render, not the Real Cartridge
Cause: rounded website dimensions, no tolerance study, no cap allowance.
Fix: remeasure 10 production units, update the finished size, and rebuild the white dummy before print.
Field note: I caught a 0.8 mm bind on a 1.0 ml carton. The mouthpiece cap caused it.
2. Score Lines Whiten, Crack, or Spring Open
Cause: wrong grain direction, bad score depth, board and caliper mismatch.
Fix: flip the grain, adjust scoring, hold the 45–55% residual-thickness target, and retest fold fatigue.
Field note: a visible white crack line means you passed the limit. We reject scores with fiber lift.
3. The CR Lock Weakens or Stiffens After a Few Cycles
Cause: poor tab geometry, tolerance drift, board memory that fights the fold.
Fix: revise engagement geometry, recheck scoring near the lock, and cycle-test again before release.
Field note: a loose lock feel after eight cycles meant a shallow hook. It was deepened to 1.2 mm.
4. Auto-Gluer or Filling Line Jams the Blank
Cause: glue flap too wide, tab interference, wrong panel sequence.
Fix: simplify the flap path, adjust taper, and run three timed builds before release.
Field note: an audible rattle or glue-seam skew means the blank fights the machine. We widened slot clearance to 0.4 mm and jams stopped.
💡 Pro Tip: Designers hunt free dielines to save an hour. They lose days when the file was never engineered for their hardware.
🧠 Expert’s Verdict: Generic templates fail because they skip engineering, not because they lack artwork polish.
Conclusion
You have the working set: a dimensioned SOP, three template archetypes, file-setup rules, CR design cautions, and automation checkpoints. Success is concrete: the white dummy folds square, the seam holds, the pack is quiet when shaken, and the lock clicks.
Start from the templates, build the white dummy, and approve one golden file plus one golden sample before bulk tooling. When your dimensions and line specs are ready, contact the team and we will review the file set with your prepress lead.
My Experience: Our fastest vape carton dieline approval came from a gluer-operator signoff on a white dummy, not another render review.
Disclaimer: This article comes from our internal prototype, fold, and QC work. It is not paid placement for outside vendors.
People Also Ask About Vape Carton Dieline
1. What makes a vape carton dieline production-ready?
Ready means it matches the measured device, board caliper, score depth, glue-flap taper, and line speed. I approve it only after a white dummy folds square, the tuck locks without drift, and the seam stays stable under thumb pressure.
It must also clear the auto-gluer in three dry runs, or it is not ready for print release.
2. Why do free vape carton templates fail on real cartridges?
Free templates usually skip tolerance studies. On a 1.0 ml job, a generic file bound at the mouthpiece cap, and adding 0.8 mm clearance plus 0.4 mm spring-back allowance solved it.
A free file can start a sketch, but it cannot replace 10 measured units, board behavior, and a gluer check.
3. How do I test a child-resistant vape carton before production?
Build a white dummy and cycle it at least 20 times. The lock should give a firm click, resist child opening, and still release for adults without two-hand force.
A 0.3 mm slot clearance jammed our auto-gluer every 40 cartons; widening it to 0.4 mm dropped the jam rate to zero. Confirm certification with an accredited lab under 16 CFR 1700.20.
4. What size should a vape carton be?
Start from the measured envelope, not a catalog size. A 0.5 ml 510 cartridge carton runs about 14 × 14 × 68 mm and a 1.0 ml carton about 14 × 14 × 75 mm; a cartridge-plus-battery kit runs about 95 × 75 × 28 mm.
Add functional clearance, board behavior, and insert allowance to that envelope, then confirm every number on a spec sheet before artwork.
5. Can one dieline cover both 0.5 ml and 1.0 ml cartridges?
Only if the cross-section and closure match. Both 510 cartridges share a 14 mm body, so one Template 1 geometry covers 0.5 ml and 1.0 ml by changing the height: 68 mm versus 75 mm.
The mouthpiece cap, battery attachment, and insert still need a separate check, so build a white dummy for every SKU before you share the file.