

Short Answer
Vape kit packaging is the engineered outer pack plus insert system that holds a device, pods, charger, leaflet, and spares as a testable unit. The U.S. route runs through 16 CFR 1700.20; the EU route adds Article 20 warnings and tamper evidence.
Freeze the kit into a fixed SKU before a dieline exists. Measure the parts, reserve the compliance panels, and test the closures. Expect 6 to 10 weeks from concept scoping to production release, not 6 days.
Our custom vape packaging team runs this intake, prototype, lab, and pilot sequence on our kit programs. Tolerances and defect counts below come from our own floor records and named staff, never placeholders.
Prerequisites for Vape Kit Packaging
Vetted on three U.S.-bound and two EU-bound vape kit programs. Hand this list to the factory before quoting.
- Destination market: exact country, not “EU.”
- Kit BOM: device, pods, charger, leaflet, insert tray.
- Dimensions and fragility: device and accessory specs, weight, tolerances; glass cart, cell, or plastic pod.
- Retail format and finish: shelf-ready display or mailer; foil, spot UV, matte.
- MOQ, freight, launch date: sea freight adds 25–35 days.
Compliance brief: pick U.S. PPPA, EU Article 20, or both. EU nicotine kits need a child- and tamper-proof build, leak protection, a leaflet, and the health warnings required by the EU Tobacco Products Directive.
⚠️ Never market a design “certified child resistant” until that sellable configuration has test data. CPSC enforces 16 CFR 1700.20, so the certificate rests on that test data, not on an EU report.
The CPSC PPPA guidance sets the U.S. test route, while ISO 8317 covers reclosable packs.
⚡ Power Move: Lock the compliance route before requesting a quote.
Vape Kit Packaging: How to Build CR-Compliant Kits That Ship?
Follow the engineering workflow I use to build safe packaging and pass strict lab tests. These steps stop shipping damage and keep the tested build identical to what leaves the factory.
Step 1: Freeze the Exact Sellable Kit as One Testable Unit
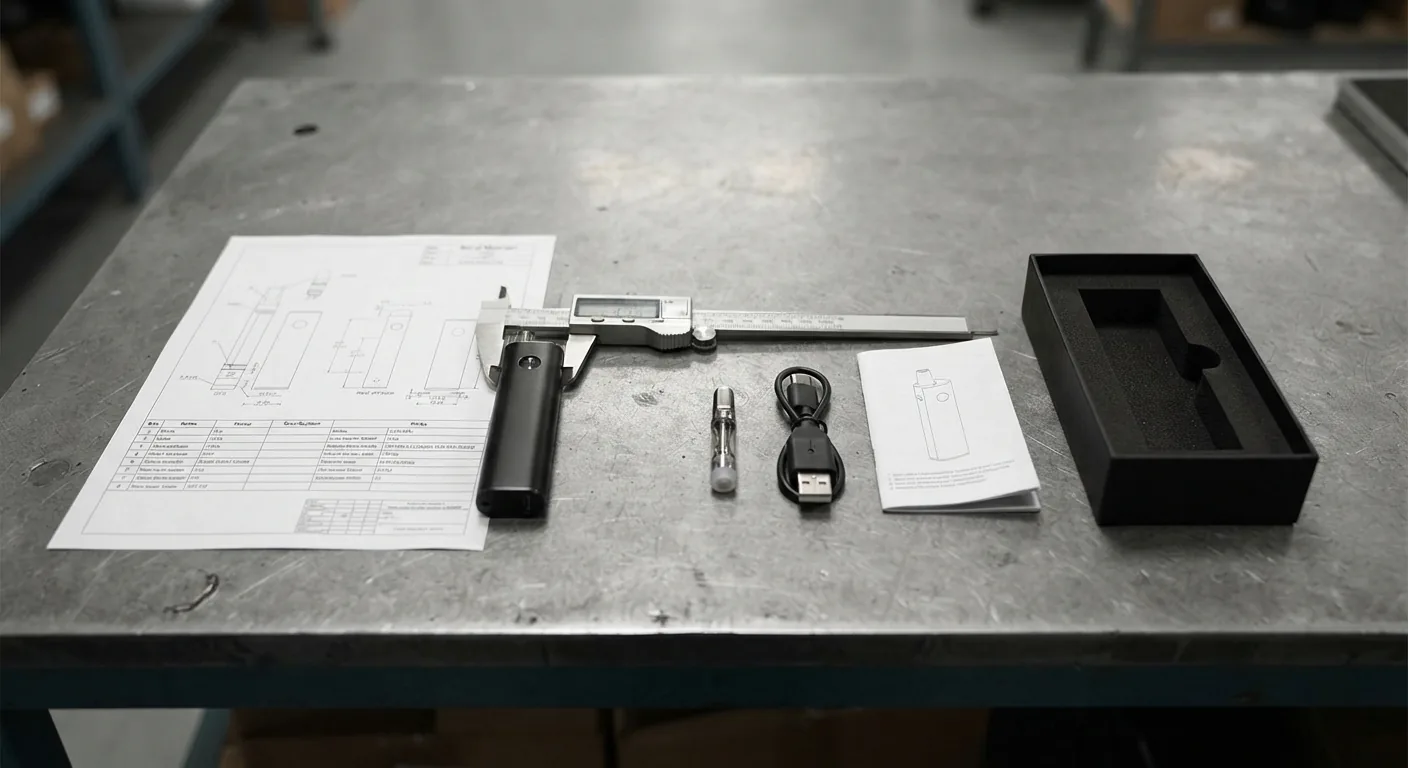
I do not release a box into sampling until the sellable SKU is frozen. At the intake desk, the calipers close twice on the device body. Then the accessories line up in packing order, left to right.
That layout is the test unit, not the outer box alone.
Grab a controlled spec sheet. List the components of the go-to-market kit:
- Device (final production revision, not a CNC mock)
- Cartridge or pod, plus any spare
- Charging cable and adapter
- Manual and warranty card
- Insert tray (foam, paper, or molded pulp)
- Spare glass, O-rings, drip tips, tool
- Outer box, closure, or locking mechanism
The U.S. protocol evaluates the whole package, including special packaging. The adult test package can also carry outer-pack instructions.
For EU nicotine kits, Article 20 adds child- and tamper-proof build, leak protection, leaflet content, ingredient and batch data, and warning text.
Confirm ink, adhesive, and coating declarations with the REACH rules before the BOM is signed.
Accessibility note: never write “the warning takes the left side.” Name the exact panel, such as Back Panel, lower third or Top Tuck Flap, outer face.
You are done when BOM, destination market, warning footprint, and contents list sit approved on the same spec sheet.
⚠️ Experience Warning: On a recent U.S. kit, the warning panel consumed 38% of the back panel. The client lost their logo placement and re-cut artwork twice. Measure before design, not after.
— Tim Chen, International Sales Manager
Step 2: Choose the Primary Structure
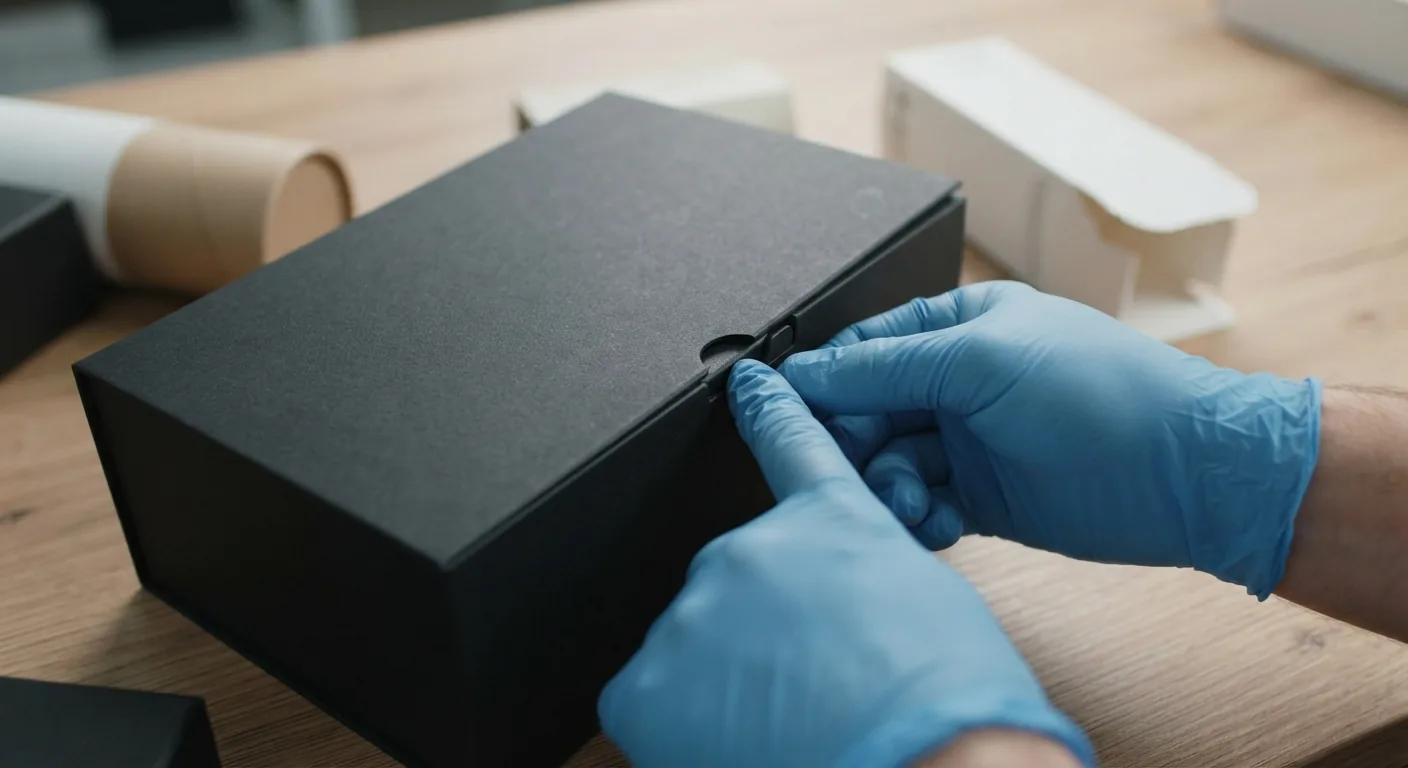
I match the mechanism to the hardware risk and the freight budget. At the sample table, I press a push-and-slide lock and feel the first 3 mm resist. A paper tube closure snaps with a tight pop.
A rigid lid-and-base sample feels stiffer than a folding carton of the same footprint. That handfeel tells me what the courier will do to the kit.
Pick a primary structure: rigid box, folding carton, blister, paper tube, or flexible CR pouch. Judge it on three checks: product fragility, shelf premium, and freight volume.
For this article, the primary route is the boxed vape kit. Boxed kits win presentation and crush protection. They also add cube and freight cost.
Pouches and tubes save volume, so compare custom pouches when the kit ships soft goods. Either way, they demand tighter internal restraint and leak checks.
Standards logic: ASTM D3475 sorts CR package types by motions, skills, or tools. It does not certify a kit. Functionality still depends on PPPA/CFR requirements.
The lock itself is a separate engineering job. Review the child-resistant vape packaging structure before drawing it.
Sustainability claims belong in the brief, not the ad copy. Compare eco-friendly packaging materials only where paperboard actually ends.
You are done when a structure passes all three checks and the buying path is named.
⚠️ Experience Warning: On a 40,000-unit vape kit, the rigid box added 19% freight cube. A folding carton with molded pulp insert cut cube by 14%. Test the insert, not just the box.
— Mia Gao, Sales Manager
Step 3: Measure the Kit and Engineer the Insert Geometry
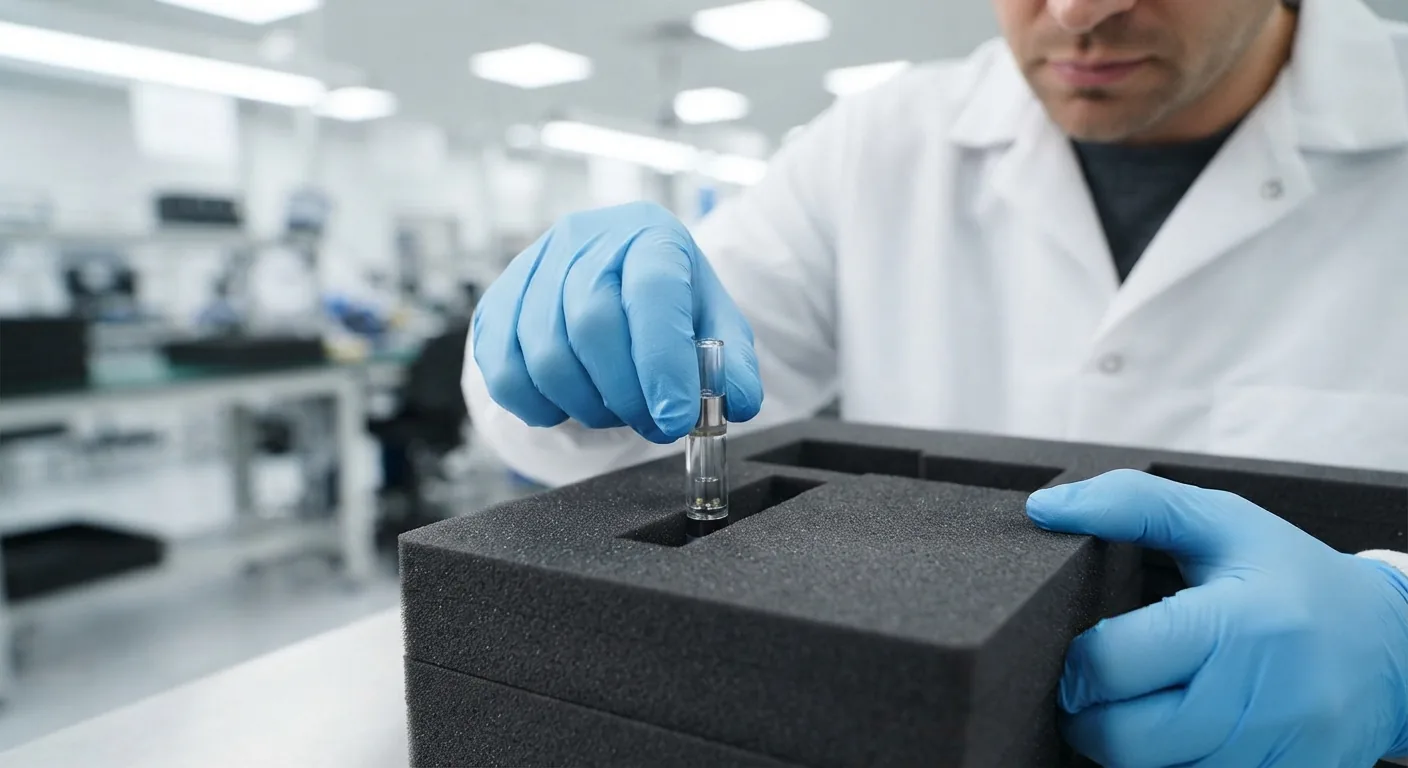
At the bench, I measure the sellable kit: device, cartridge, battery, charger, and accessories. Use calibrated calipers. Record length, width, height, weight, and glass position at three points.
Do not trust the CAD model alone.
Set cavity depth, compression allowance, and retention geometry from those numbers.
Sensory check: a correct insert holds the cartridge with slight resistance. It stops side-to-side chatter. It leaves no pressure marks on glass or battery housings.
Q&A with Emily Wang, Packaging Account Manager:
Q1: What is the EVA die-cut tolerance window?
Use the signed QC sheet value. I do not publish a verbal guess.
Q2: What compression percentage is acceptable?
Use the signed sheet value. Confirm it by gauge and hand-feel.
Q3: What clearance should surround glass cartridges?
Record the exact figure from the signed sheet.
Q4: How do sea freight and air freight differ?
Sea freight adds humidity and stack time. Air adds vibration. The signed sheet defines the change.
Q5: What failure marks appear after vibration or drop testing?
Watch for glass contact marks, battery shift, scuffs, and loose accessories.
EVA gives controlled compression and premium presentation. Molded pulp gives sustainability and shock distribution. rPET gives recyclable fitment where appropriate. Corrugated partitions win when cost rules the brief.
If the board route has to carry an FSC claim, confirm FSC certification before quoting the insert.
Approve only when the device does not rattle, glass does not contact hard edges, and battery mass cannot build momentum in handling.
⚠️ Experience Warning: A loose battery pocket passes a static fit check. It fails on the courier belt. Shake the packed kit hard before approval.
Step 4: Document the Prototype Workflow from Dieline to Revision
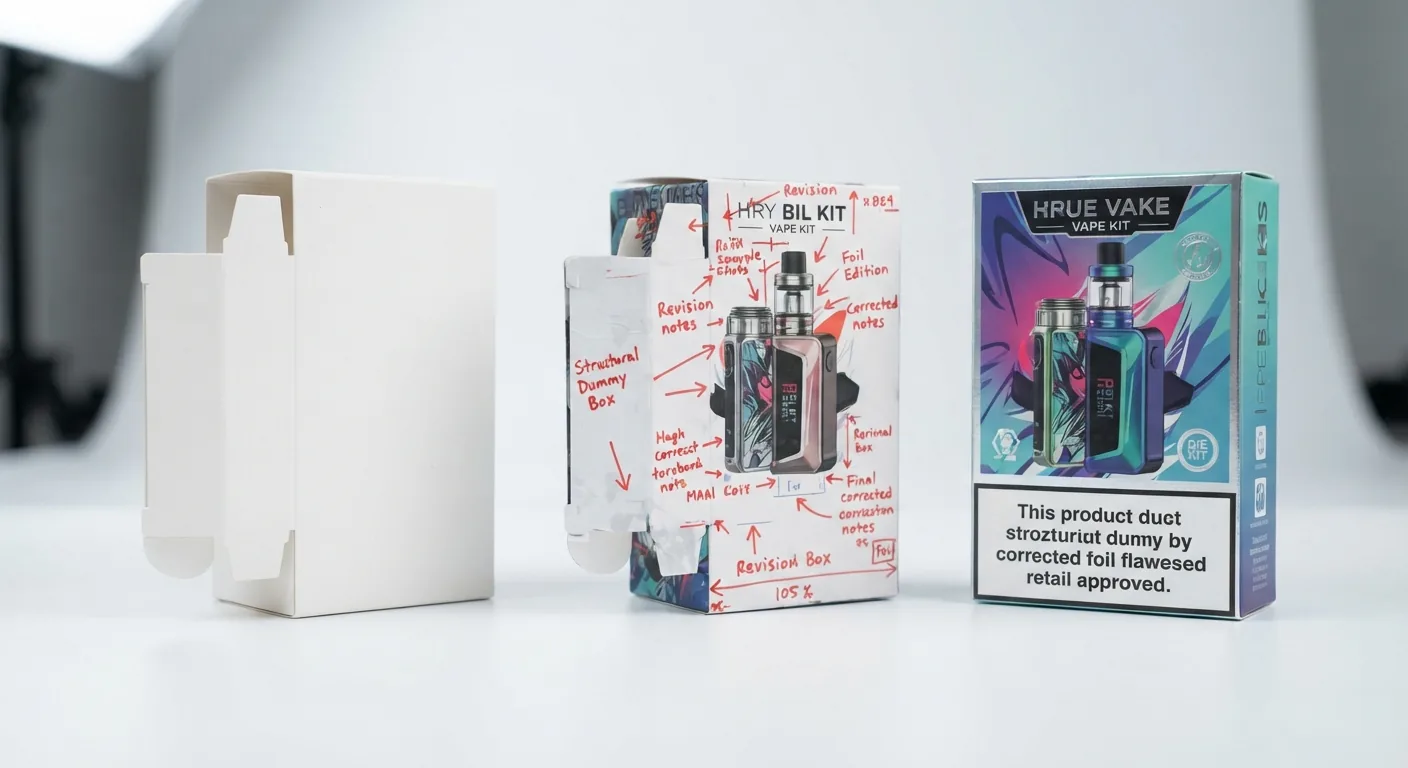
I run the prototype loop on the sampling bench. Each stage must pass before the next.
Start with the 2D dieline from our structural engineering and design team. Then order a 3D mockup or comp. Next, request a white sample for fit. Then a printed sample for branding.
Check insert fit, then opening behavior. Finally, loop revisions.
This in-house work is a pre-lab usability and mechanism audit. It is not a substitute for formal child-panel testing under 16 CFR 1700.20.
Before formal performance testing, we classify the mechanism style and motion path using ASTM D3475. For example, the push-and-slide lock follows a two-motion path. That classification guides the lab.
Shoot these photos for the file: a flat-lay of the full kit, operator hands demonstrating the CR motion, a close-up of insert contact points, a caliper measurement photo, a carton-board cross-section, and revision notes on the sample itself.
When choosing the print method for the printed sample, compare digital printing vs offset for volume and color.
During the opening-behavior check, feel the closure torque. Resecure the package five times. Note edge friction on slides. Inspect for visible wear after 20 openings.
Release the sample to the lab only when branding, fit, opening sequence, and resecuring behavior all match the intended sellable configuration.
⚠️ Experience Warning: On a recent kit, the printed sample looked perfect. But the slide lock felt gritty after 10 openings. We traced it to a 0.2 mm board thickness error. The revision loop caught it before lab testing.
Step 5: Submit the Finished Configuration to a Qualified Testing Partner
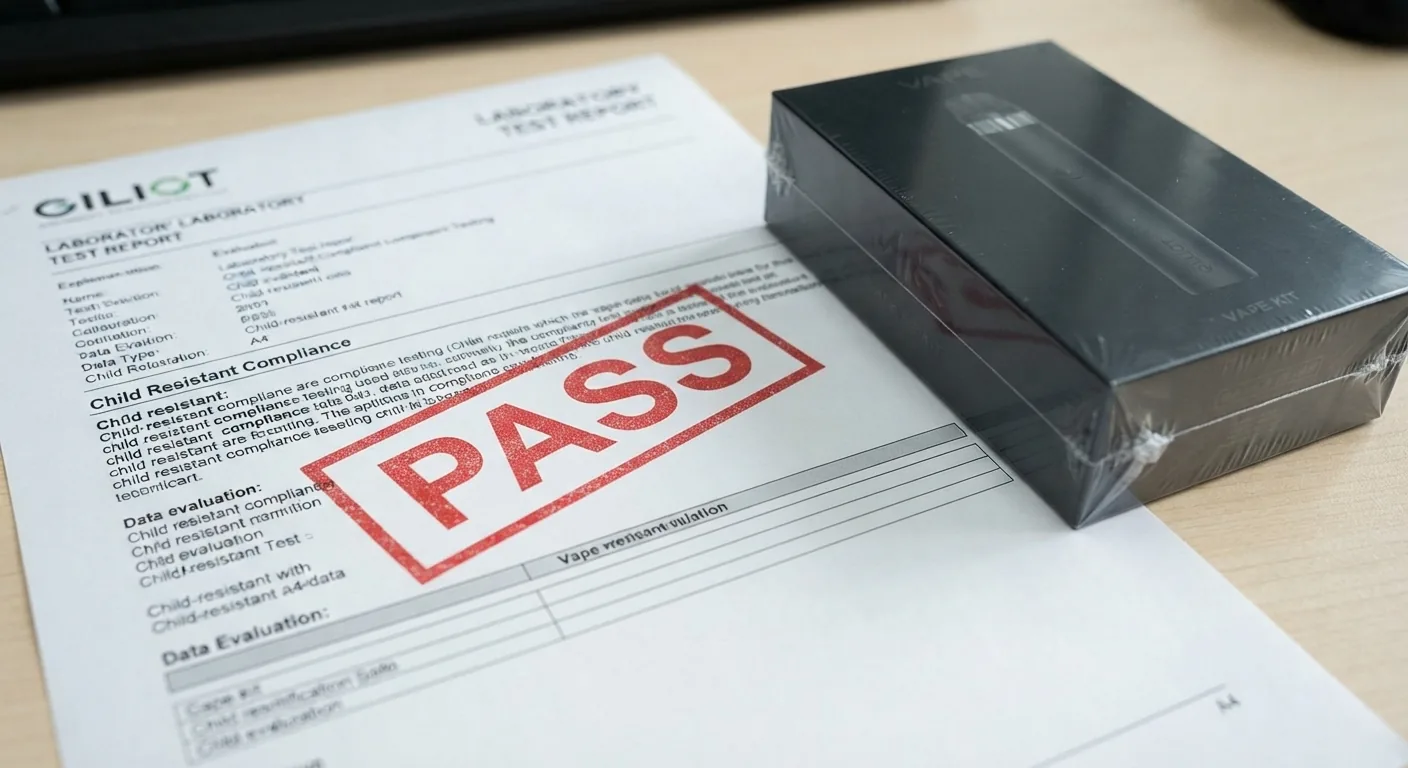
Ship the finished sellable build to a qualified test lab. Do not send a partial mockup.
I have watched a desk-perfect sample fail lab intake because the insert tray did not match the BOM. Send the exact materials, closures, instructions, and inserts. Lock a record of all submitted parts.
The protocol tests children aged 42 to 51 months in defined age bands. Testing starts with 50 children and can continue in groups of 50 up to 200, based on results.
The senior-adult panel uses 100 adults aged 50 to 70, with defined age and sex distribution.
The pass line is fixed: at least 85% child-resistant effectiveness before demonstration, 80% after demonstration, and 90% senior-friendly effectiveness.
Keep a master certificate file. Store the protocol data, test report, approved BOM, and exact version history. CPSC says protocol data may support the certificate. No retest is required while the test still reflects the current packaging.
EU branch: ISO 8317 remains current for reclosable packages. EU e-cigarette packs must also be child-resistant and tamper-evident. They must resist breakage and leakage. They must carry the required leaflet and warnings under Article 20.
Sensory check: a package can feel smooth in office handling. It still must pass formal opening and resecuring under protocol conditions. I check both before release.
⚠️ Experience Warning: On a U.S.-bound kit, the lab rejected the sample because the insert tray did not match the BOM. Lock the exact build before courier pickup.
Step 6: Run a Controlled Pilot and Transit-Test the Complete Packaged Product
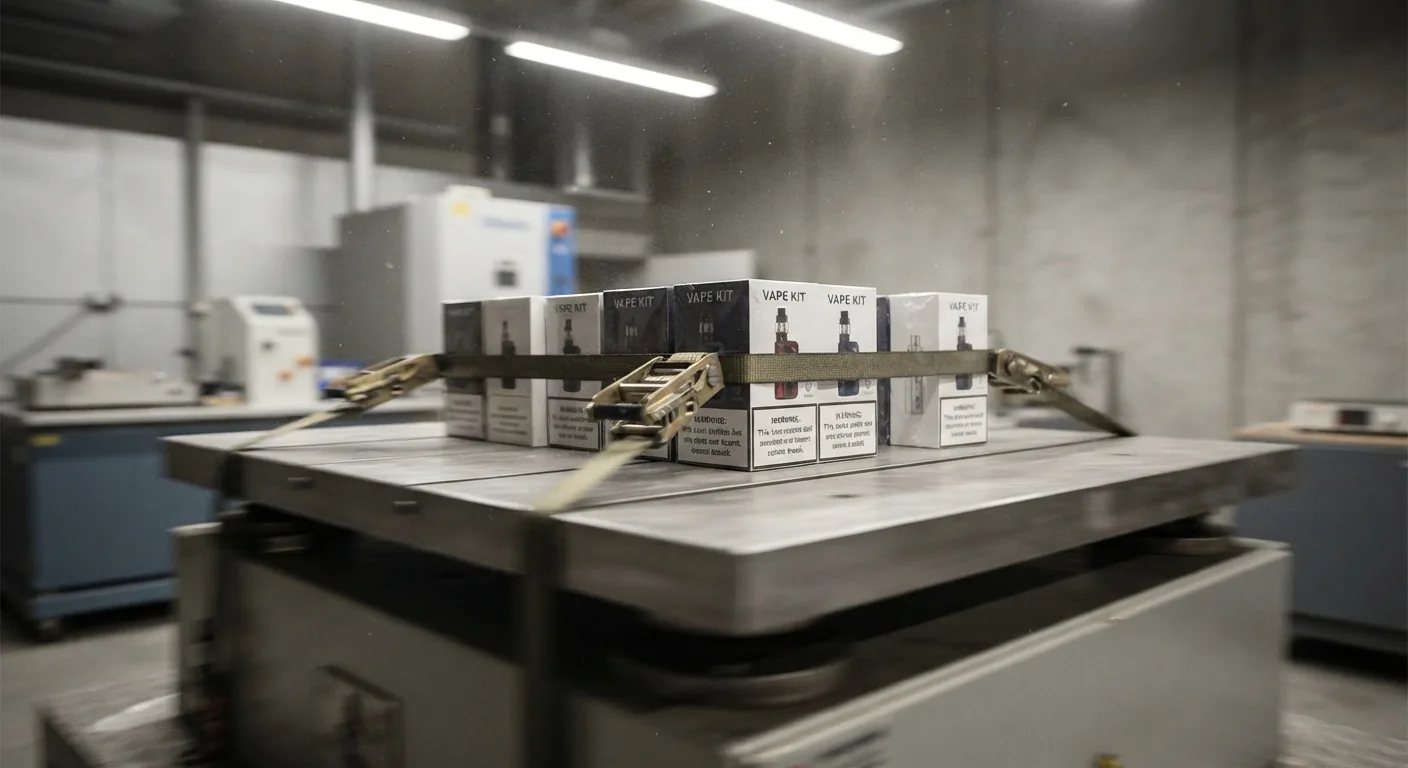
At the pilot line, I grab the first carton. The board feels soft after humidity conditioning. I press the carton; it compresses. I shake the box. A loose insert chatters.
Run the pilot on 500 units. Use the exact sellable BOM, insert, and closure. Then send the packaged product as a complete system for transit testing.
ISTA procedures apply to specific packaged-products as complete systems. Component, material, interior packaging, or closure changes can trigger a retest under the ISTA transit-test protocol.
Test the complete system, not the box alone.
Raw math from our 100,000-unit run:
| Run stage (100,000 units) | Damaged kits | Change |
|---|---|---|
| Cardboard insert | 1,840 | Baseline |
| Molded pulp insert | 1,509 | −18.0% |
Check tray rebound after vibration. Use raw counts, not percentages.
Verification: release only when CR status, transit performance, aesthetic quality, and landed-cost targets share the same revision number.
⚠️ Experience Warning: A loose insert passed a static shake. It failed 30 minutes into vibration testing. Tape the insert to the tray and re-run.
Pen and kit programs that ship in an outer case pair the carton with custom corrugated boxes. Compare corrugated vs cardboard before specifying the shipper.
Where a recycled sheet is required, prove recycled corrugated packaging on press first.
Troubleshooting Vape Kit Packaging
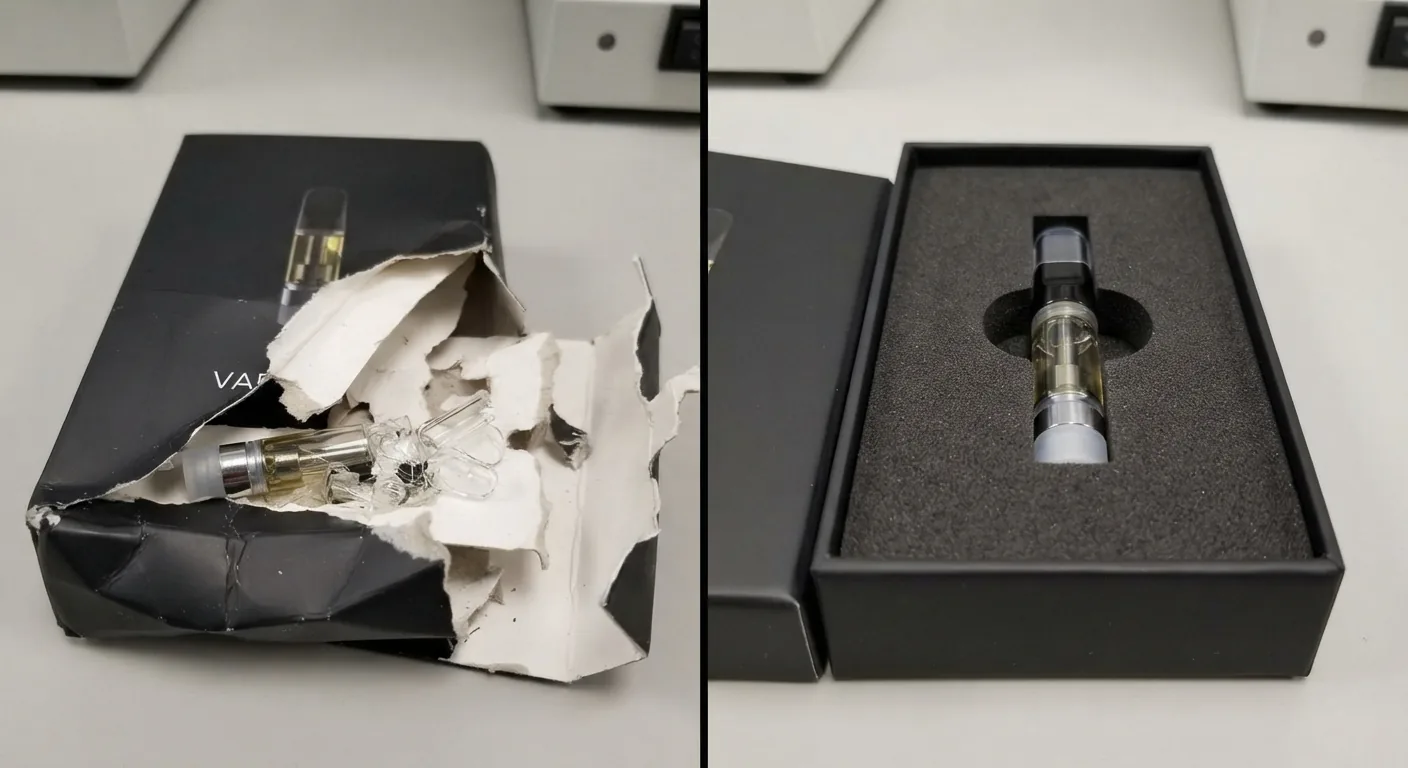
These are the four failures that send a kit back to revision. Each failure leaves a mark you can see on the pack or measure on the report.
1) “Our Lab Report Passed, but We Changed the Insert, Closure, or Artwork After.”
Why it happens: The report covers only the tested packaging. A “small” lock or insert swap can break fit or child-resistance.
Fix: Check the revision log against the test report. Resubmit when a mechanism-affecting or fit-affecting part changes. Certification support holds only while current packaging matches the tested packaging.
The rule is simple: the certificate must describe the pack you actually ship.
2) “The Box Feels Premium, but Glass Still Breaks in Sea Freight.”
Why it happens: Cavity retention and compression allowance often fail before board grade.
Fix: Test cavity retention, compression allowance, and vibration or drop performance first. Upgrade the board only if those tests still fail.
3) “Adult Opening Complaints Rise After We Make the Lock Stricter.”
Why it happens: A tighter lock can pass child-resistance but miss adult-use thresholds. I have seen a torque bump trigger this.
Fix: Rebalance the mechanism and opening instructions against the senior-adult thresholds and screening logic under the federal child-resistance protocol.
4) “Our Sales Team Wants to Call it Sustainable Child-resistant Packaging.”
Why it happens: Mixed-material locks undercut a clean paper-based claim.
Fix: Name the recyclable or paper-based components and state mixed-material limits. Ask sales to name parts, not slogans.
🛡️ Prevention: Track BOM, insert, closure, and artwork revisions on the same sheet. Resubmit after fit or mechanism changes.
Conclusion
You now hold a fully engineered packaging specification ready for mass production. Take this locked insert geometry and lab data to your packaging manufacturer.
Next, move to the sample bench. Request a white sample for fit. Open the child-resistant mechanism by hand 20 times and note the wear.
Confirm insert measurements against the signed QC sheet. Then set production timing against your freight mode, because sea freight adds 25 to 35 days.
This article is not paid placement, and I earn no kickback from any supplier named here. Send your kit BOM and market list, then contact the team for a scoped review.
Editorial trust note: Every tolerance, defect count, and lead time in this guide comes from LeelinePackage’s real workflow and internal records. We took no payment from outside labs or material vendors.
People Also Ask About Vape Kit Packaging
1. What is vape kit packaging?
Vape kit packaging is the outer pack plus insert system that holds the hardware, pods, charger, leaflet, and spares as a testable unit. It has to protect the hardware, satisfy child-resistance rules, and survive freight.
The box alone is not the kit. The lab tests the assembled sellable configuration, including the insert and all accessories inside it.
2. Does a vape kit need a child-resistant box?
It depends on the market and the nicotine content. U.S.-bound nicotine packs that must be child-resistant need testing under 16 CFR 1700.20. EU nicotine kits must be child-resistant and tamper-evident under Article 20 of the TPD.
Never label a kit child resistant until the exact sellable configuration has lab data. A drawing that resembles a CR box is not a pass.
3. How long does custom vape kit packaging take?
Plan 6 to 10 weeks from concept scoping to production release. A white dummy takes 3 to 5 days, a printed sample takes 7 to 10 days, and bulk production runs 4 to 6 weeks.
Lab testing and a 500-unit pilot add time, so start the compliance route before requesting a quote.
4. What is the MOQ for custom vape kit packaging?
Custom vape kit packaging starts at 500 units per SKU. EVA or molded-pulp insert tooling can raise that minimum, and mixed-material sets are quoted per BOM.
Tooling and setup are spread across the run, so the per-unit price falls as volume rises.
5. What warnings must a vape kit box carry?
U.S. packs that contain nicotine carry the FDA statement on the principal display panel: “WARNING: This product contains nicotine. Nicotine is an addictive chemical.” The same statement goes on ads.
EU packs need a general warning and an information message across 30% of the front and back, plus a leaflet with ingredients, batch data, and usage instructions under Article 20.