

Short Answer
Vape packaging sampling is the physical check between artwork and mass production: request a white dummy or printed sample, measure it against caliper dimensions, then approve or reject it in writing before tooling is cut.
The sequence runs on a fixed clock: a 24-hour 3D mockup, a white dummy in 3–5 days, and a printed sample in 7–10 days. Five checks decide the result: dimensional fit, child-resistant function, crease durability, tray accuracy, and print readiness.
Start with the custom vape packaging range. A sample that closes tight, holds the unit without rattle, folds square, and opens firmly is ready for tooling. Anything else goes back to the brief, not into bulk.
For the structural side of the same decision, our structural engineering and design team reads the dieline against the same measurements.
Prerequisites Before Sampling
I built this list from 1,000 sample runs and a working session with LeelinePackage’s senior packaging engineer. A production-ready brief lets the factory picture the pack before the first cut; a vague RFQ turned a 3-day dummy run into three weeks.
Required inputs:
- Product type: cartridge, disposable, pod kit, or e-liquid bottle.
- Measured dimensions and tolerances (±0.5 mm).
- Weight, fragile points, and orientation inside the box.
- Quantity target, launch date, and low-MOQ trial need.
- Artwork files, brand colors, finish references, and regulatory copy.
- Target market and its child-resistant requirement.
Timing:
- 3D mockup: 24 hours.
- White dummy: 3–5 days.
- Printed sample: 7–10 days.
- Low-MOQ trial: add production and freight buffer.
The white dummy proves fit. The printed sample proves color, finish, and artwork. Order both when the launch date allows, because a structural fix after print approval restarts the entire clock.
U.S. child-resistant vape packaging must meet 16 CFR 1700.20, which the eCFR publishes in full. ISO 8317 covers international packs but does not clear a U.S. shipment.
Material proof should travel with the sample: REACH declarations for inks and coatings, and FSC chain of custody for board.
For recycled or mono-material stocks, review our eco-friendly packaging materials guide. The official chain-of-custody rules sit with FSC.
How to Sample Vape Packaging? Five Steps
Follow this five-step process to evaluate prototypes, test structural durability, and verify compliance before committing to a production run.
Step 1: Send a Production-Ready Sample Brief
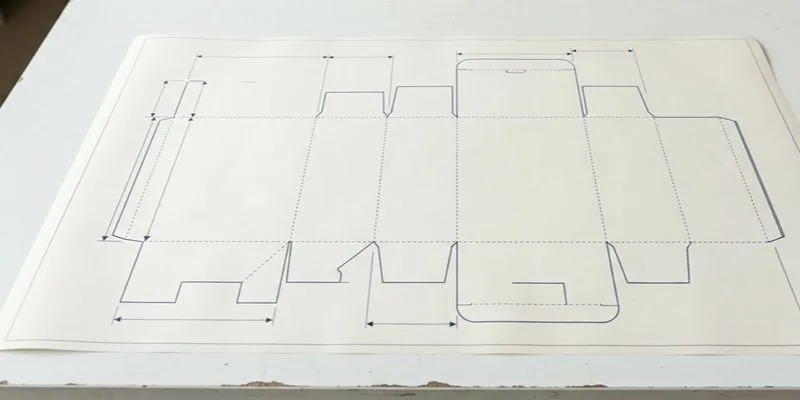
Start with one email, not a casual inquiry. The correct brief makes the sample feel snug, open cleanly, and seat the product without forcing it into the cavity. Send these seven items:
- Caliper dimensions: length, width, height, and tolerances. Never use rounded website specs.
- Product photos: top, bottom, side, and connector views.
- Fill format and count: units per pack, plus device or bottle orientation.
- Preferred structure: tuck box, drawer box, blister card, rigid box, sleeve, or CR slide box.
- Preferred insert: EVA foam, molded pulp, folded paperboard, or blister tray.
- Finish preference: matte, gloss, soft-touch, foil, embossing, or spot UV.
- Compliance needs: warning copy, age restrictions, and child resistance.
Submit a written RFQ with dimensions and files, and add a review call only for unusual structures. For format options, review our custom packaging services.
Bottle-led kits need cap clearance and label protection, so the e-liquid bottle packaging page is the closest structural reference.
Verification checkpoint: confirm the factory returns one consolidated spec summary covering dimensions, tolerances, structure, insert, finish, and compliance copy. Reject scattered email assumptions.
⚡ Power Move: Send dimensions and regulatory copy in one PDF. Split files cause mismatched samples.
— Nick Wong, Sales Manager
⚠️ Experience Warning: One client sent rounded website specs, and the printed tray missed the cartridge cavity by 1.2 mm. Caliper data caught it before tooling.
— George Fan, Packagingbestchina VP Sales
Step 2: Inspect the Dieline and Structural Sample
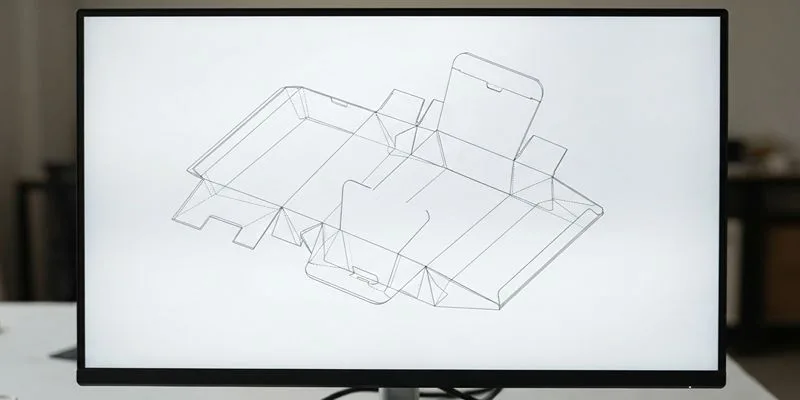
I open the box on screen before the factory cuts board. Run a sensory check: mentally open the box, feel the thumb notch, trace tuck depth, and watch panel overlap. Check five areas:
- Outer dimensions vs actual product size: compare caliper data to the cavity, not the spec sheet.
- Internal clearance: confirm inserts, trays, and finger access clear the product.
- CR lock geometry: trace the movement path, thumb notch, and tuck depth.
- Glue flap placement, fold lines, panel sequence: confirm the assembly order.
- Artwork: verify bleed, safe zones, barcode area, and warning-copy placement.
Digital printing versus offset decides how the finish sample is produced, so settle that before you approve a surface.
Board grade comes next. The corrugated vs cardboard differences tell you which stock can hold a crease through 20 folds.
Decision block: a white dummy is fastest for structure, fit, and assembly. Order the printed sample when color, finish, branding hierarchy, or retail presentation decides the sale.
Li Wei, Senior Packaging Engineer at LeelinePackage, told me: “The CR tab engagement depth and tray cavity tolerance cannot drift more than 0.3 mm from sample to tooling. That is the line between a secure close and a field failure.”
Verification checkpoint: approve an annotated dieline with comments resolved, not a screenshot in chat. I have seen chat screenshots hide a 1.0 mm tray gap.
⚠️ Experience Warning: A pretty printed sample can hide a loose lock. Approve the annotated dieline before tooling.
— Steve, Packaging Specialist
Step 3: Inspect the White Dummy with the Real Product
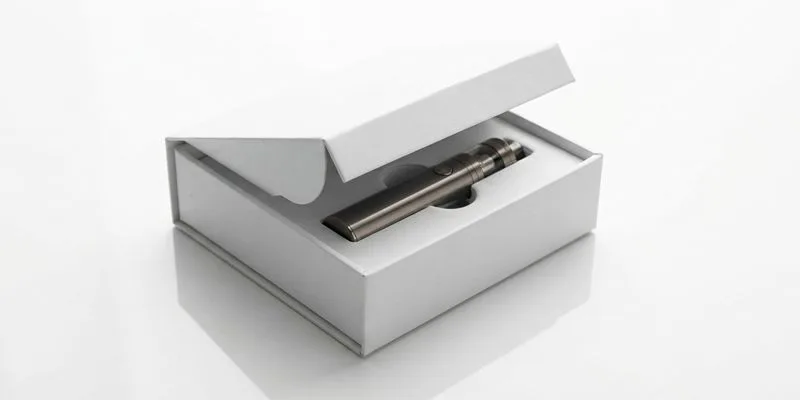
The white dummy is the first time you touch the pack, and it comes before print because it isolates structure from color and finish. Brands that skip it approve beautiful boxes that rattle.
Assemble the box exactly as fulfillment will, place the real product inside, then check orientation, headspace, and ease of insertion and removal. Note loose fit, bulging panels, flap interference, or awkward user motion.
Format-specific checks:
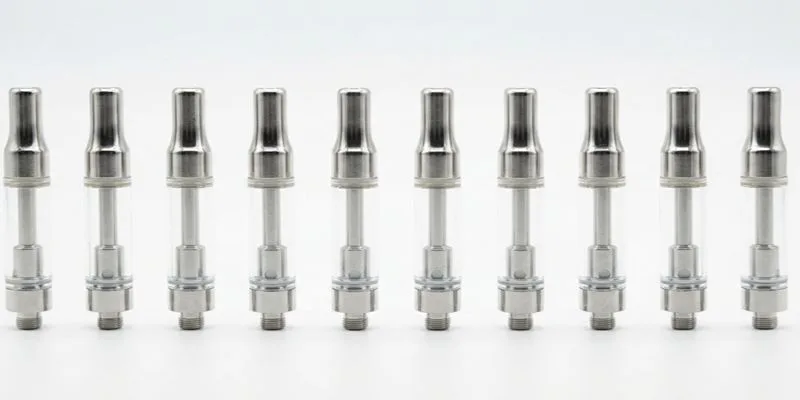
- Cartridge packaging: cavity retention without over-compression. Review the vape cartridge packaging cradles for retention options.
- Disposable vape sleeves: stable insertion and clean edge presentation. See disposable vape packaging.
- E-liquid bottle cartons: cap clearance and label protection, with the same cavity rule as cartridges.
Verification checkpoint: the sample closes squarely, stays aligned on a table, and holds the product without movement noise.
⚠️ Experience Warning: One client skipped the white dummy and went straight to print. The cavity was 0.8 mm too tight, they forced the product in, and 30% of units shipped scratched.
Step 4: Run the Pre-Production Inspection
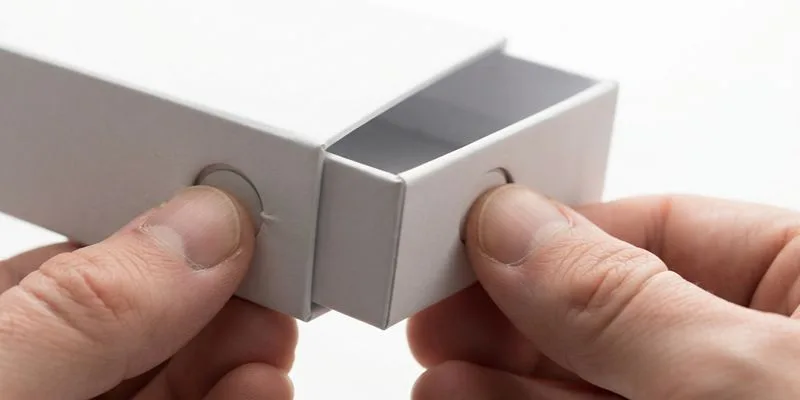
This is the non-negotiable gate. Do not approve bulk without passing all five checks; this sequence caught three fatal defects before tooling in our own runs.
- Child-resistant lock durability: open and close the lock 50 times. Listen for a crisp click, feel for looseness or stiffness. Reject any tab that engages inconsistently.
- Carton crease fatigue: fold and unfold each crease 20 times. Look for whitening, cracking, or spring-back, then run a thumb along the hinge. Warped panels jam fulfillment.
- Blister tray dimensional accuracy: measure cavity length, width, and depth with calipers. Slide the product in and out. The tray must not pinch, float, or deform the unit.
- Insert and transit security: shake the closed box for 10 seconds, listen for movement, and check corner protection. The product must stay seated through basic handling.
- Assembly repeatability: fold, glue, and close three samples, then time each cycle. If assembly varies by more than 10%, the design is too complex for mass production.
Pre-production telemetry (1,000 custom runs):
| Defect | Count | Rate |
|---|---|---|
| CR tab mis-engagement | 12 | 1.2% |
| Crease-line cracking or spring-back | 8 | 0.8% |
| Tray cavity tolerance mismatch | 5 | 0.5% |
The first two rows are exactly what the 0.3 mm tolerance rule exists to stop.
Verification checkpoint: convert each check into a pass/fail matrix. Record exact measurements, attach annotated photos, and add signoff comments. An incomplete matrix is not an approval.
⚠️ Experience Warning: One brand skipped the crease fatigue test. The first 500 boxes cracked at the hinge after 48 hours, and the rework cost $2,200 plus a launch date.
Step 5: Approve the Printed Sample and Lock the PO
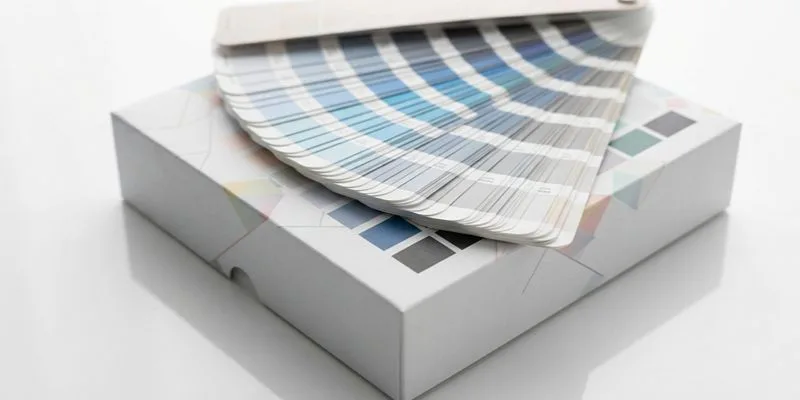
Skip the printed sample only when structure is the sole risk, because that is what the white dummy already proves. Order one when color, foil, or soft-touch decides the sale; a generic kit will not match your Pantone.
Hold the sample and run a thumb along the foil edge: it should be crisp, not feathered. The matte should feel identical across every panel. Tilt it under a lamp for drift between lid and base.
Five approval checks:
- Color match against your approved Pantone reference.
- Finish quality: matte, gloss, soft-touch, foil, embossing, spot UV.
- Barcode and warning readability at retail size.
- Structure consistent with the approved white dummy.
- Version control: stamp the file name and approval date on the golden sample.
Launch-stage brands can test demand with 500 units first. Review custom corrugated boxes and custom pouches for outer and refill formats.
Custom printed samples cost more than generic kits, and most suppliers credit the fee against the first bulk order, ours included.
Verification checkpoint: you hold three things: one signed golden sample, one production-ready spec sheet, and one locked PO package.
⚠️ Experience Warning: One client approved a sample without scanning the barcode. It failed at retail, and rework cost $1,800 and two weeks.
Troubleshooting Vape Packaging Sampling
Most sampling failures start with one mistake: approving a prototype that does not match production materials or tolerances. It shows up later, when locks soften, trays scrape, and folds whiten.
1. The CR Lock Works Once, Then Weakens
Why: shallow tab geometry or soft board. We see it at 40–60 cycles, not on day one.
Fix: add 0.3 mm of engagement, switch to firmer board, and run 100 cycles. Verify against ISO 8317 for non-U.S. packs.
2. Crease Lines Crack or Spring Open
Why: wrong grain direction, shallow score, or the wrong board. One 0.1 mm score failed after 48 hours in our humidity test.
Fix: run grain parallel to the fold, deepen the score, test the folding sequence, then confirm board choice. Swapping material? Compare biodegradable vs compostable and plastic-free options.
3. Blister or Insert Fit Is Inconsistent
Why: rounded specs or product variation beyond tolerance. We measure 0.5 mm of drift between sample and production.
Fix: measure 10 real products, tighten cavity inputs to ±0.3 mm, then re-cut the tray and confirm the production variation before tooling.
4. The Printed Sample Looks Wrong in Hand
Why: CMYK and Pantone are different targets, and a match can shift three shades under retail light.
Fix: use a physical Pantone book, put CMYK versus Pantone expectations in writing, then approve one golden sample under store lighting and date it.
5. The Low-MOQ Trial Price Feels Too High
Why: setup and material minimums spread across 500 units.
Fix: pay for a printed trial only when color or finish decides the sale. A white dummy proves structure and fit for a fraction of the cost.
Before you order: sample fees usually credit against bulk, structural changes add 5–7 days, ISO 8317 alone does not clear U.S. packs, and material declarations need checking before approval.
📝 Editor’s Verdict: Most sample failures are spec errors caught too late. Fix the brief, not the sample, and run every check on one pass/fail matrix.
Conclusion
One approved sample, one locked specification, one clear production path. That is what success looks like.
Archive the golden sample with its file name, date, and approved spec sheet. Share it with procurement, QC, and marketing so all three teams sign off on the same physical reference. Release bulk tooling only after their written approval.
Contact LeelinePackage to start your run.
Disclaimer: This guide is built from our own sampling records, factory inspection sheets, and a working session with LeelinePackage’s senior packaging engineer. We take no supplier commission and receive no payment for any recommendation.
People Also Ask About Vape Packaging Sampling
1. How long does it take to get a custom vape packaging sample?
A white dummy takes 3 to 5 days, and a full printed sample takes 7 to 10 days. Ask for a 24-hour 3D mockup first. Scattered files stretched some runs from 3 days to 3 weeks.
2. Do I need a printed sample, or is a white dummy enough?
A white dummy proves structure, fit, and assembly. Order a printed sample only when color, foil, or soft-touch finishes drive the sale. Most pre-tooling errors are structural, and the dummy catches them for about $50.
3. Is child-resistant packaging required for vape products?
Yes, for the U.S. market. The standard is 16 CFR 1700.20, enforced by the Consumer Product Safety Commission. ISO 8317 covers international packs but does not clear U.S. shipments. Our inspection SOP opens and closes the lock 50 times.
4. How much does a custom vape packaging sample cost?
Printed custom samples cost more than generic kits, and most suppliers credit the sample fee against your first bulk order, LeelinePackage included. Budget for one golden sample and one reprint in case the first print misses your Pantone.
5. Can I run a small trial before committing to a large bulk order?
Yes. LeelinePackage starts custom printed boxes at 500 units, which is enough to test retail handling and customer response without a warehouse commitment. Low-MOQ trials expose lock, crease, and tray defects early.
6. What should I do if my sample fails inspection?
Reject it in writing with a pass/fail matrix. Record exact measurements, attach annotated photos, and name the specific check that failed. Then fix the spec, reprint, and re-inspect before releasing tooling.